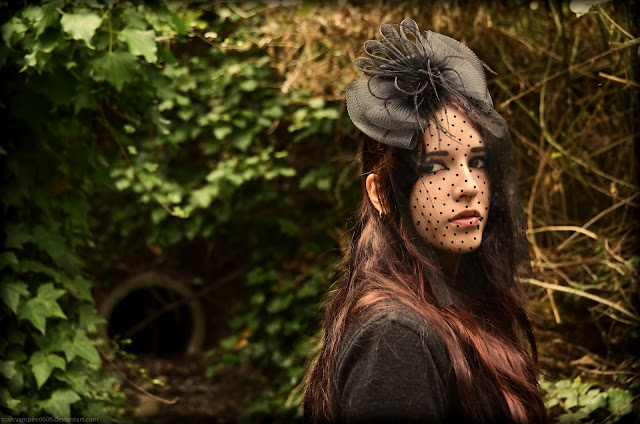
These are the top four captures for my "Homemade Backdrop" project. I edited the images in Lightroom, adjusting the contrast, saturation, curve, and brightness.
Model: Lisa P.
Friday, December 14, 2012
Friday, November 16, 2012
Perspective and Scale
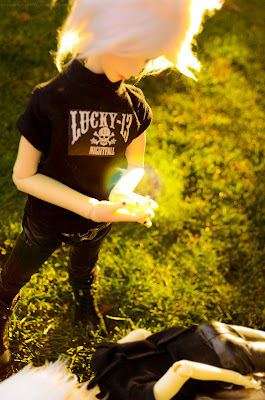
These are the final images for my Perspective and Scale project. I used my BJD (ball-jointed doll) Satoru as the subject. My basic story for the project is enjoying the splendor of nature and the calm and elegance of the early-evening sun. Additionally, the photos convey another story of Satoru waiting for someone, and acquiring some sort of magical power from sun, allowing him to both heal others, as well as hurt.
All of my photos were edited in Lightroom to achieve a similar effect. The final image, which is a merge of two different ones, was edited in Photoshop as well, causing the tonality to vary slightly from the other three images. In Lightroom, I played with the saturation and luminance of the oranges, yellows, and greens, tweaked the levels a bit, played with the contrast and blacks, and lowered the clarity slightly.
With the final merged image, I took an image of when he fell on the ground, and cut him out of it, adding him to the image of him standing with his hands out. I then airbrushed in an orb in his hands and changed the blending mode.

Wednesday, November 7, 2012
Shadow Play
These are the images for my "Shadow Play" project. I used Tmax100 film.

This photo exhibits a strong use of directional lighting. This is an images of a redwood tree in my backyard. In the darkroom, I didn't need to do anything "special" to the print, like adding filters or burning. I printed on fiberbase paper.
This photo uses shadows to create a pattern. I was aiming to emulate the feeling of a jail cell. Like the first print, I did not need to do anything "special" to it while printing. I printed on fiberbased paper
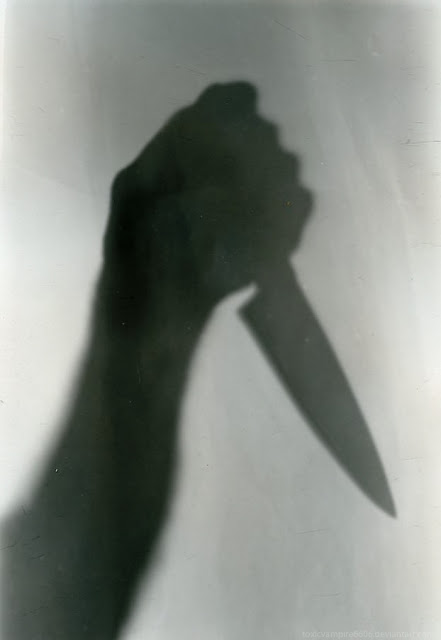
This photo uses silhouette. With this photo, I wanted to emulate Alfred Hitchcocks' "Psycho". In order to take the photo, I set up a light and shot from inside my shower. My father held up the knife for me. This print was a little more difficult in the darkroom; I needed to use a 3 filter. Printed on fiberbased paper.
On another note, I still need to do my dyptic photo, for I do not know how to do positive printing.
Wednesday, October 31, 2012
Shadow Practice
These are the captures for practicing shooting shadows.
For this photo, I practiced with silhouettes. I tied strings onto a skeleton and had my friend hold it like a puppet. The photo was taken with back lighting behind a white fabric screen. I lightened up parts of the photo and darkened the shadow a bit as well in Lightroom.
For this photo, I practiced distortion. I lit my model from a 3/4 angle so the shadow would stretch diagonally. I changed the levels a bit, upped the contrast, made it black and white, and added grain in Lightroom.
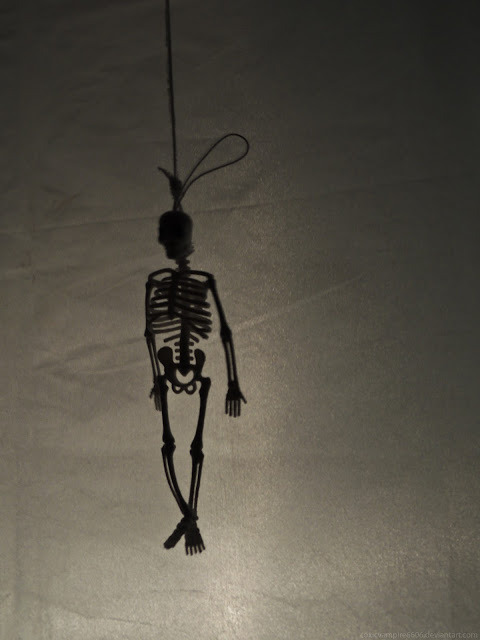
For this photo, I practiced with silhouettes. My friend make a deadman's knot and we tried it onto the skeleton. She then held it while I shot. The photo was taken with back lighting behind a white fabric screen. I lightened up parts of the photo and darkened the shadow a bit as well in Lightroom.
For this photo, I practiced projecting a pattern. I used a piece of a laundry basket which was cut and then spray painted black. I then backlit it so it would cast a shadow. I edited it in Lightroom by changing the levels, making it monochrome, and changing the hues a bit.
Historic Homes
These photos are from my Historic Homes project. I shot on an Oympus OM1 with Tmax100 film in Alameda, CA.
This photo was more difficult to print. I had been having trouble opening up my roll to put the film on the reel, so my teacher and I took it out of the film change bag to look at it. Unfortunately, I had a bit of a light leak, so I had to drastically burn the left side of the print because it was blown out. It could've been burned more, but I feel that it is decent. Printed on fiber based paper.
When I printed this photo, I didn't really need to do anything special to it in the darkroom. The only thing I really needed to do was expose the paper for a little longer than usual. I used fiber based paper
This photo was more difficult to print. I had been having trouble opening up my roll to put the film on the reel, so my teacher and I took it out of the film change bag to look at it. Unfortunately, I had a bit of a light leak, so I had to drastically burn the left side of the print because it was blown out. It could've been burned more, but I feel that it is decent. Printed on fiber based paper.
Friday, October 19, 2012
Color Project
These are the top four captures from my Color Project. All photos were edited in Lightroom, with watermarks added in Photoshop.
For this photo, I began by cross processing to get a general color scheme, but then changed the tonalities a fair amount to achieve the desired results. Since I am very much into early color photography from the 50's, I edited mine so it has the strange color shifts, saturation, and grain that the early color photos possessed.
Like the previous photo, I began by cross processing it, then tweaked the saturation, hues, levels, and what-not until I liked it. I wanted to emulate early color film in this one as well, but particularly polaroids. I added a bit of a white vignette to create the faded effect that many developed along their edges.
This photo is from the "greys" portion of my project. It still possess a tinge of color, but focuses mostly on warm greys with a touch of cools.
As with the previous photo, this is from the "greys" portion of my project. It still possess a tinge of color, but focuses mostly on warm greys with a touch of cools in the background.
Wednesday, October 3, 2012
Complementary Color Grid
For my project, I had to take 24 captures of my favorite color, choose my top nine photos, then put them into a 6x6 grid. After that, I shot the complementary color and made it the border for the grid. The color I chose was red, blue-green being its complement. Photos were edited in Lightroom and Photoshop.
Lipstick Multicolor Grid
My job was to shoot a single object with different colored backgrounds. I chose my red lipstick as the subject, then compiled my images into a grid. Photos were edited in Lightroom; I began by cross processing to get a general color scheme, but then changed the tonalities a fair amount to achieve the desired results. Since I am very much into early color photography from the 50's, I edited mine so it has the strange color shifts, saturation, and grain that the early color photos possessed.
Friday, August 31, 2012
First Day of School Challenge
We were given a brown paper bag and were allowed to do whatever we wanted with it in order to reflect the first day of school.
"Lunchtime"
"Lunchtime"
Monday, May 7, 2012
Patterns in Nature
These are the final images for my Patterns in Nature project. I used Kodak CN400 B/W film.
"Rocky Road"
"The Redwoods"
"Rocky Road"
"The Redwoods"
Monday, April 23, 2012
Juxtaposition
These are the final images for my juxtaposition project.
"Change?"
This photo shows juxtaposition because it has taken the image of a person of peace and power (President Obama) and bloodied his face, which shows violence and some sort of conflict/disturbance. Furthermore , the fact that he and his family are enjoying a happy lunch together and everyone is smiling, yet his smile is bloody (which isn't exactly fun and cheerful; more disturbing), shows further contrast and juxtaposition.
"Crossroad Can"
This photo shows juxtaposition because the lines of the shadows cross in different directions, and are extremely contrasting. For the shadows are completely black, yet the line is white.
"Man's Best Friend"
This photo shows juxtaposition because the image of my father is rather "badass", and yet he is walking a tiny chihuahua dog; very opposite. The combination of the two is a bit absurd and rather funny.
"Roaring 2000's"
The juxtaposition for this image is a bit more complex than my last three images. The way that I saw juxtaposition in this image is that there is the image of a woman from the 1920's, which was an extremely prosperous era in our country's history, accompanied by the phrase "The Roaring 2000's". The phrase "The Roaring 2000's" is completely contradicting to the actual prosperity of the 20's, for the 2000's have been filled mostly with war, recession, astronomical gas prices, and large budget cuts. This view is taken further by the "out of order" sign on the gas pump, which additionally represents the recession in our economy and very high gas prices; the condition of our country.
Wednesday, March 28, 2012
Beauty Studio Shoot
These are the final images from my beauty studio shoot.
Model: Hope
Model: Hope
For both images I used a beauty enhancing tutorial when editing. In doing this project, I learned how to create a more pleasing, beautiful portrait with the use of soft lighting and some editing.
Friday, March 23, 2012
Wednesday, March 14, 2012
Self Portraits
These are the images from my self portrait project representing my past, present, and future selves.
Past:
When I was much younger (particularly 6th grade), I was extremely introverted and taciturn. This was partially from being abandoned by my friend group, being bullied, and not fitting in with other people; I became somewhat of a loner. In response to my loneliness, I constantly focussed on my poetry -being my only output of feeling (exposing any part of my true self only led to further hurt)-, music, drawing, skateboarding, and social networking. Later that year, however, I made a new friend and was integrated into a new group.
Present:
Currently, I am a very confident, outspoken individual. I no longer possess the introverted behavior I used to display (although I still have my quiet times), and do not care what people think about me. I still focus greatly on my arts and am part of a friend group with people that I can trust in it. I am a dedicated straight edger and have great aspirations.
Future:
When I grow older and become part of the working world, I would like to be an animator/comic book artist, and clarinetist (shown by the art supplies and comic books on my desk, my look of contemplation, and the miniature clarinet on my desk). I edited the photo to have a "popping" effect, reminiscent of comic books.
Wednesday, February 29, 2012
Defining Light
These are the final images for y defining light project.
Location: Shannon Hills Park and my house
Model: Sabrina
Location: Shannon Hills Park and my house
Model: Sabrina
"Something Wicked This Way Comes"
In this photo, diffusion lighting is being used because the light coming through trees above is being spread and is soft.
Edited in lightroom and photoshop to add filters
"4 O'clock"
In this photo, illumination lighting is being used because her face is being supplied with glowing light from one place; the candle.
Edited in pixlr and photoshop to add filters and texture."I Ask of Thee"
In this photo, chiaroscuro lighting is being used because the combination of light and smoke makes light patterns and contrast.
Edited in pixlr and photoshop to add filters and textures.
"The Open Door"
In this photo, radiance lighting is being used because the subject is being supplied with rays of light from a distinct source.
Edited in lightroom, photoshop, and pixlr to add filters, crop, and add textures.
Friday, February 10, 2012
Remote Flash Test-DVC Fog Shoot
In photo we went to DVC to shoot fog using a Nikon Speedlight. The results were amazing, and I'm really considering buying one. It's such a nifty little device.
Monday, February 6, 2012
Lens Flare Tutorial
I used a lens flare tutorial to achieve the following image. This image is from a photo contest that I entered for the 50th anniversary of my city.
Friday, January 20, 2012
Alfred Eisenstaedt Inspired Project
These are the photos from my small portfolio for my famous photographer project. My project is about/inspired by Alfred Eisenstaedt. I used Kodak Professional 400 B/W Film.
Subscribe to:
Comments (Atom)


